


bom
| メーカー | OVERTURE |
|---|---|
| 部品番号 | OVJ-VFFWTE17511-FBA |
| 商品の重量 | 1 Kilograms |
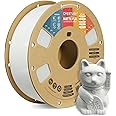
| 色 | 1kg-02 ホワイト |
| 材質 | ポリ乳酸 |
| パターン | OVPLA175 |
| 切削直径 | 1.75 ミリメートル |
| 電池使用 | いいえ |
| 口径 | 1.75 ミリメートル |

人気のブランド
OVERTURE
87%の高評価を600人以上から取得
2000人以上が直近3カ月にこのブランドの商品を購入


| ASIN | B08LKTXLC8 |
|---|---|
| おすすめ度 |
5つ星のうち4.1 |
| Amazon 売れ筋ランキング | - 1,640位産業・研究開発用品 (産業・研究開発用品の売れ筋ランキングを見る) - 31位3Dプリンタ用フィラメント素材 |
| Amazon.co.jp での取り扱い開始日 | 2020/10/20 |

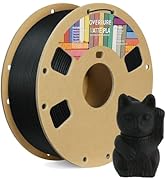
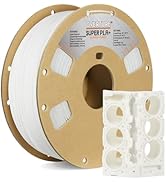
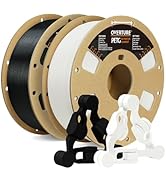
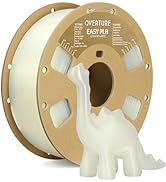
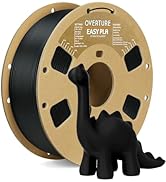
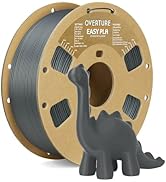
OVERTURE マット PLA フィラメント素材 1.75mm アップグレード版 3Dプリンター フィラメント, マット PLA 1KG スプール (2.2 LBS) Matte PLA フロステッドテクスチャー (マットホワイト)
シェア:
さらに安い価格を見つけられた場合は、当サイトまでお知らせください。お客様からの情報を参考にして、さらにリーズナブルな価格でご提供できるよう努力します。


Who Are We?
OVERTURE brand was founded in 2019. The founder of the brand is a scholar who loves 3D printing. In order to be able to print better models, with over 8 years’ 3D filaments R & D experience, we decide to turn our professional experience and large-scale production capacity into quality and economical products and let all people enjoy printing together.
Shakespeare once said: What's past is prologue, thus OVERTURE was established.


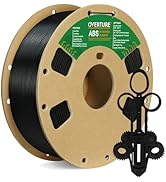

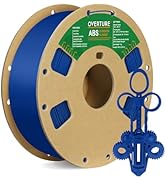


 ABS グレー |  PETG オレンジ |  PLA PRO ホワイト |  シルクゴールド-シルバー |  SUPER PLA+ ライトブラウン |  EASY PLA 蛍光ブルー |  TURBO PLA ブラック | |
|---|---|---|---|---|---|---|---|
|
カスタマーレビュー
|
682
|
4,737
|
2,067
|
6,688
|
2,067
|
308
|
— |
|
価格
| ¥2,533 | ¥2,980 | ¥2,780 | ¥2,873 | ¥3,190 | ¥2,980 | — |
|
ノズル温度
| 245°C - 265°C | 230℃~250℃ | 190°C - 220°C | 200°C - 220°C | 190°C - 230°C | 190°C - 220°C | 190℃~230℃ |
|
加熱ベッド温度
| 80°C - 100°C | 80℃~90℃ | 25°C - 60°C | 50°C - 60°C | 25°C - 60°C | 25°C - 60°C | 25℃~60℃ |
|
印刷速度
| 30~70mm/s | 30~50mm/s | 40~70mm/s | 30~70mm/s | 40~60mm/s | 40~90mm/s | 60~600mm/s |
|
ファン
| * | / | の上 | の上 | の上 | の上 | の上 |
|
特徴
| 気泡や詰まりがない | 気泡や詰まりがない | 気泡や詰まりがない | 気泡や詰まりがない | 気泡や詰まりがない | 気泡や詰まりがない | 気泡や詰まりがない |


